For larger classes, the fastest way to add students is by uploading a file. This guide will walk you through the process step-by-step.
1. Prepare Your Student List
First, you'll need to format your student list correctly using our template.
In the "Invite Students" menu, select the Bulk Invite by uploading XLS/CSV option.
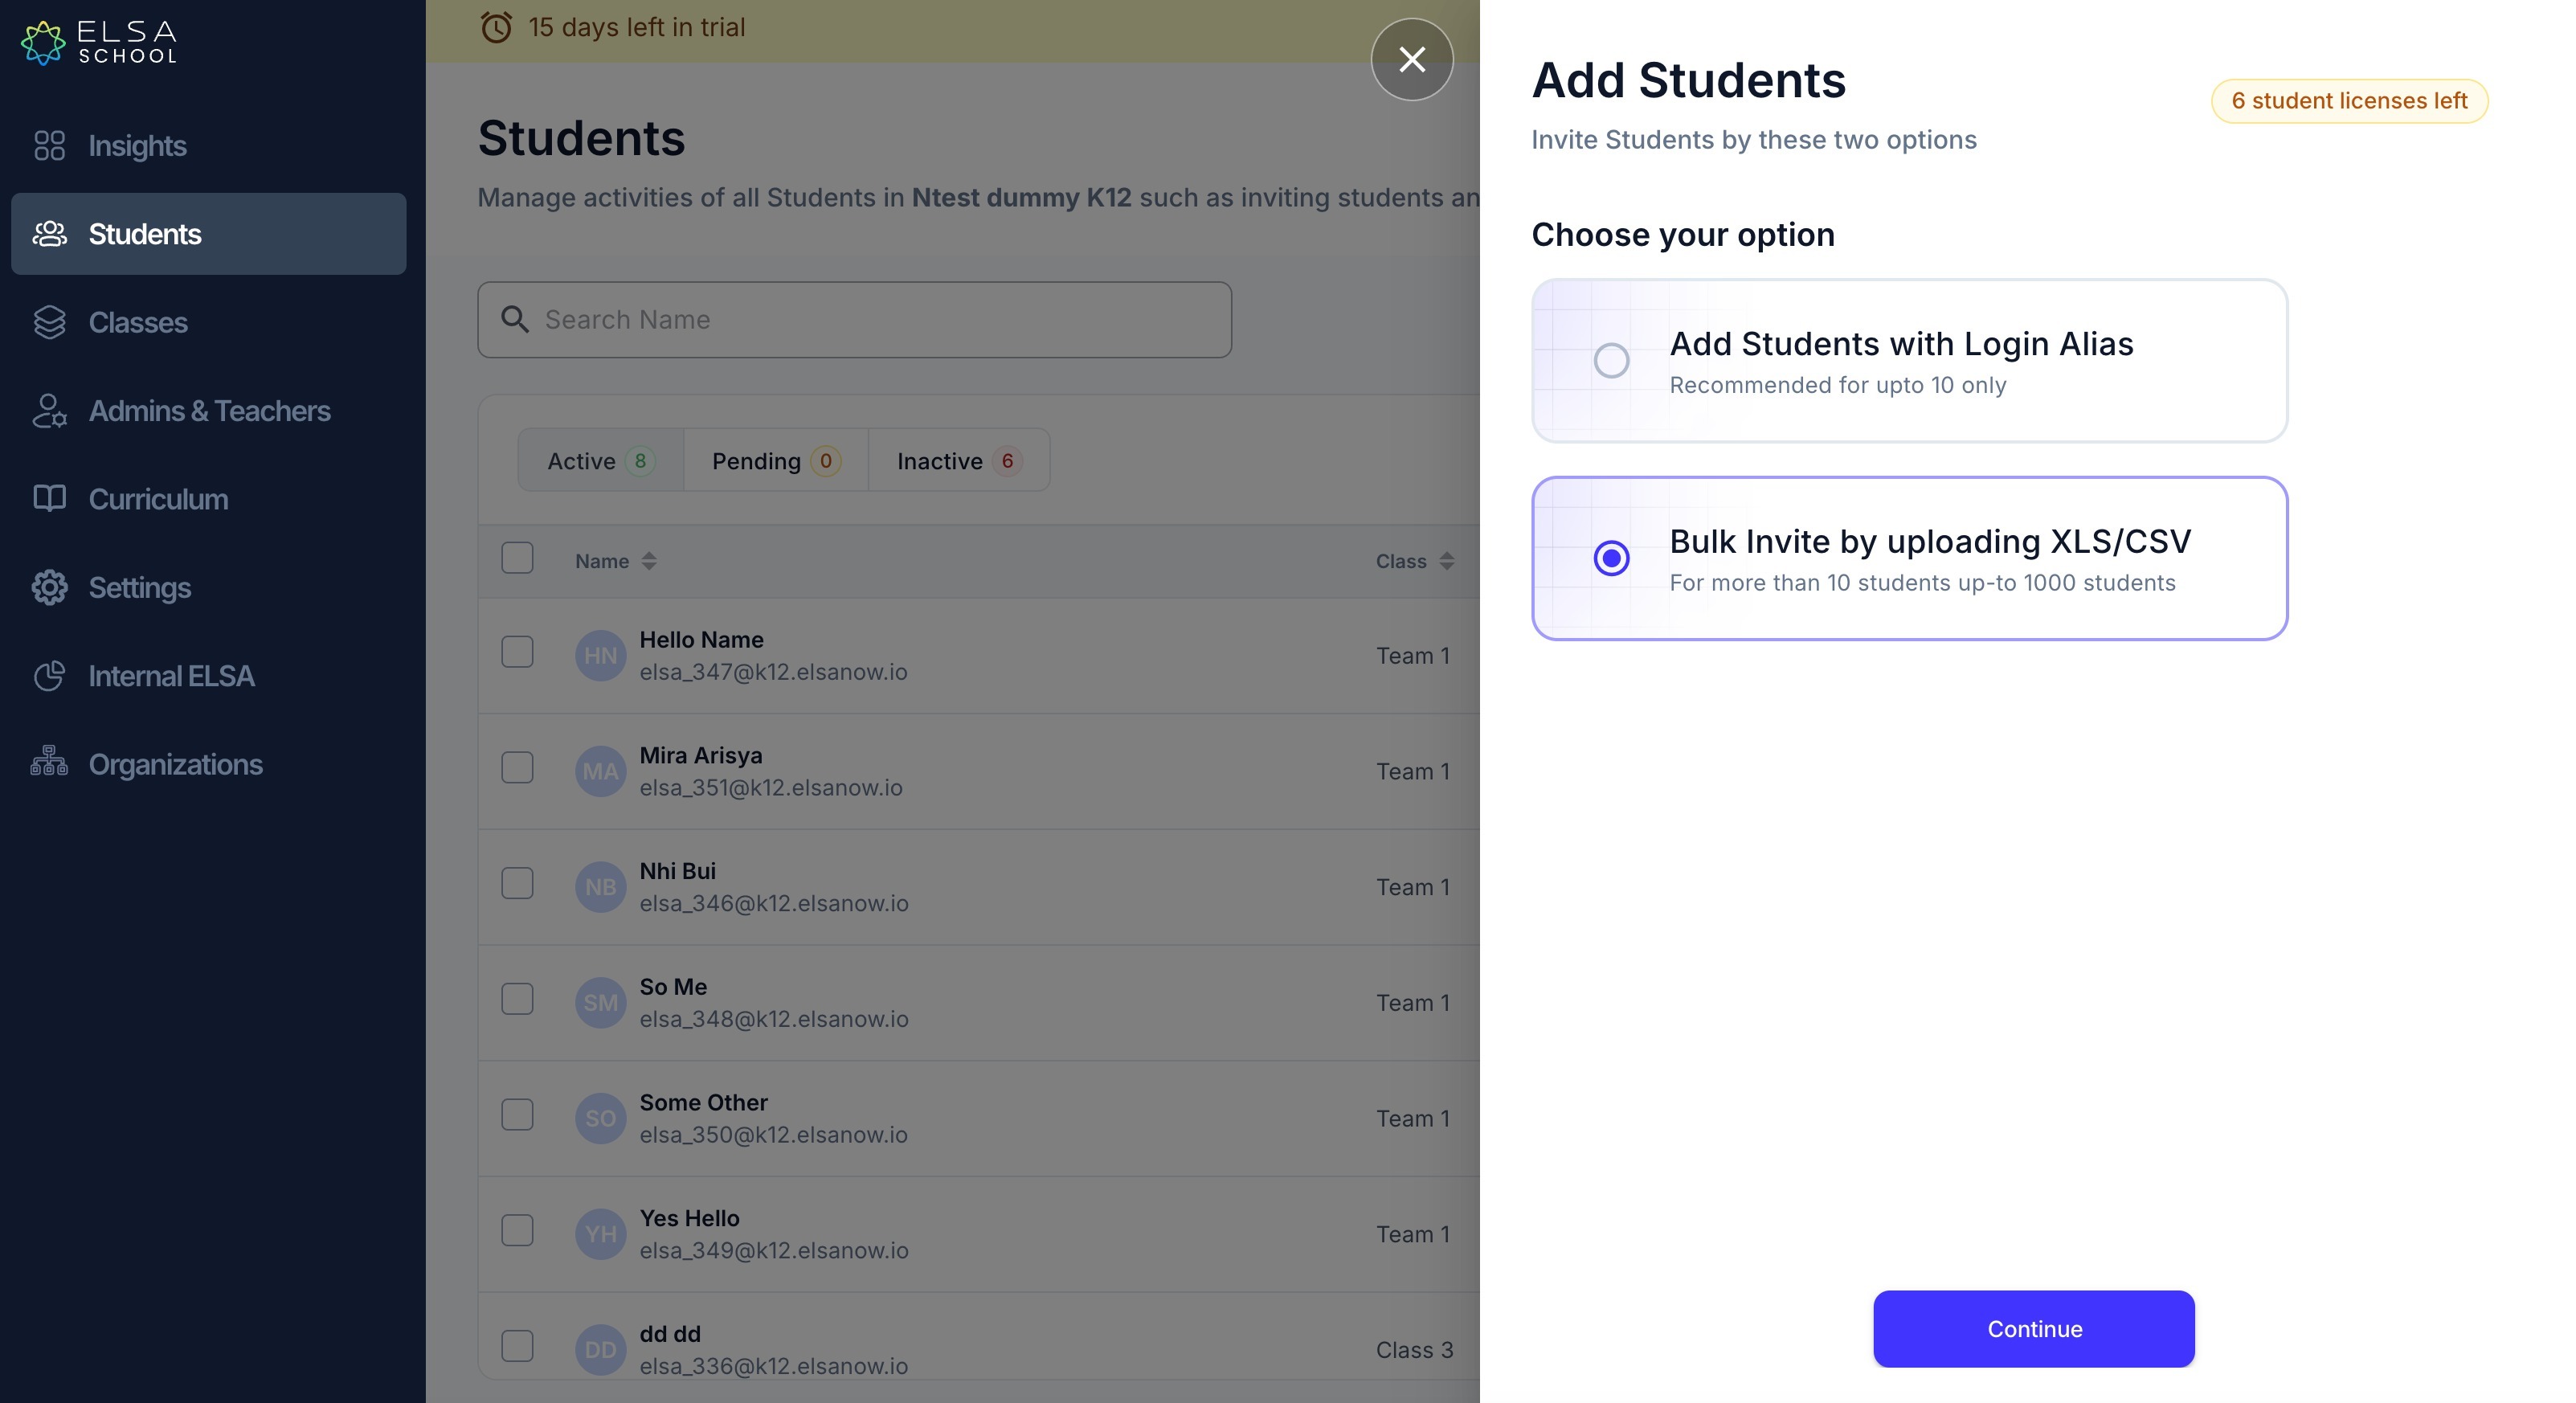
Click Download the template to get a blank file in the correct format.
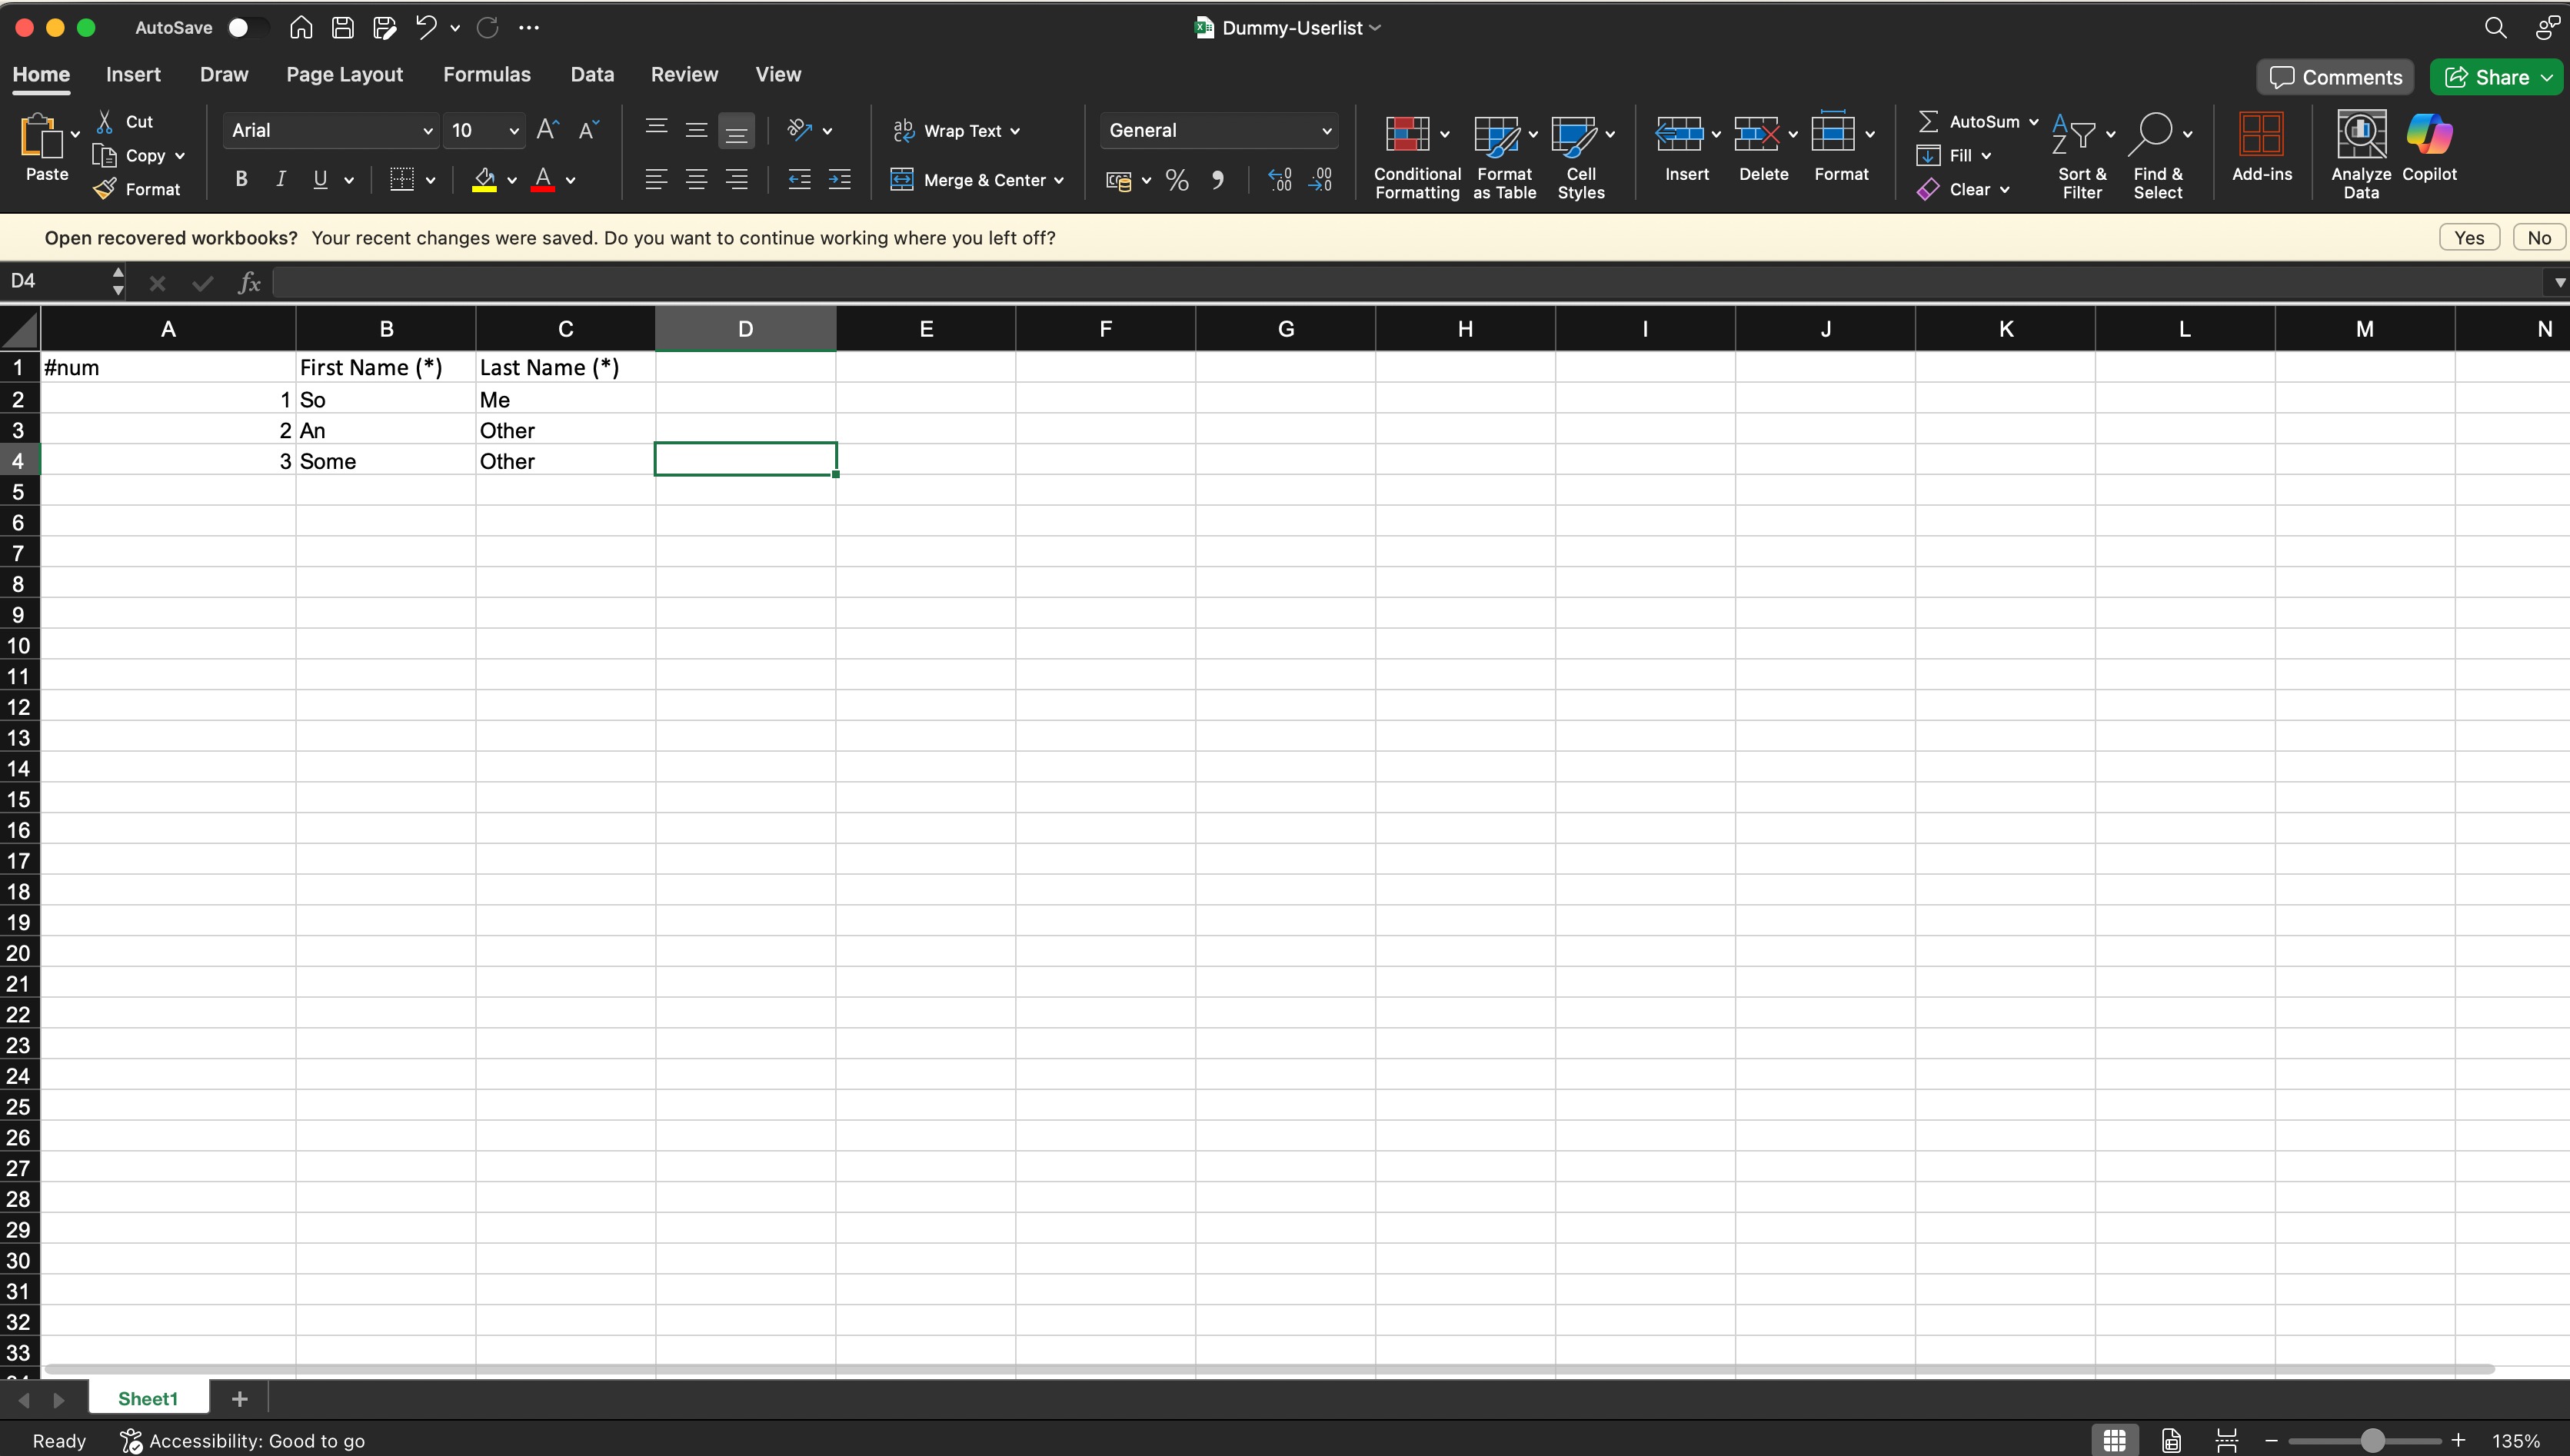
Open the template and fill in the required information for each student:
Student’s First NameStudent’s Last Name
2. Upload the File and Invite
Once your file is ready, you can upload it to ELSA.
Drag and drop your completed template file into the upload area, or click to browse and select it from your computer.
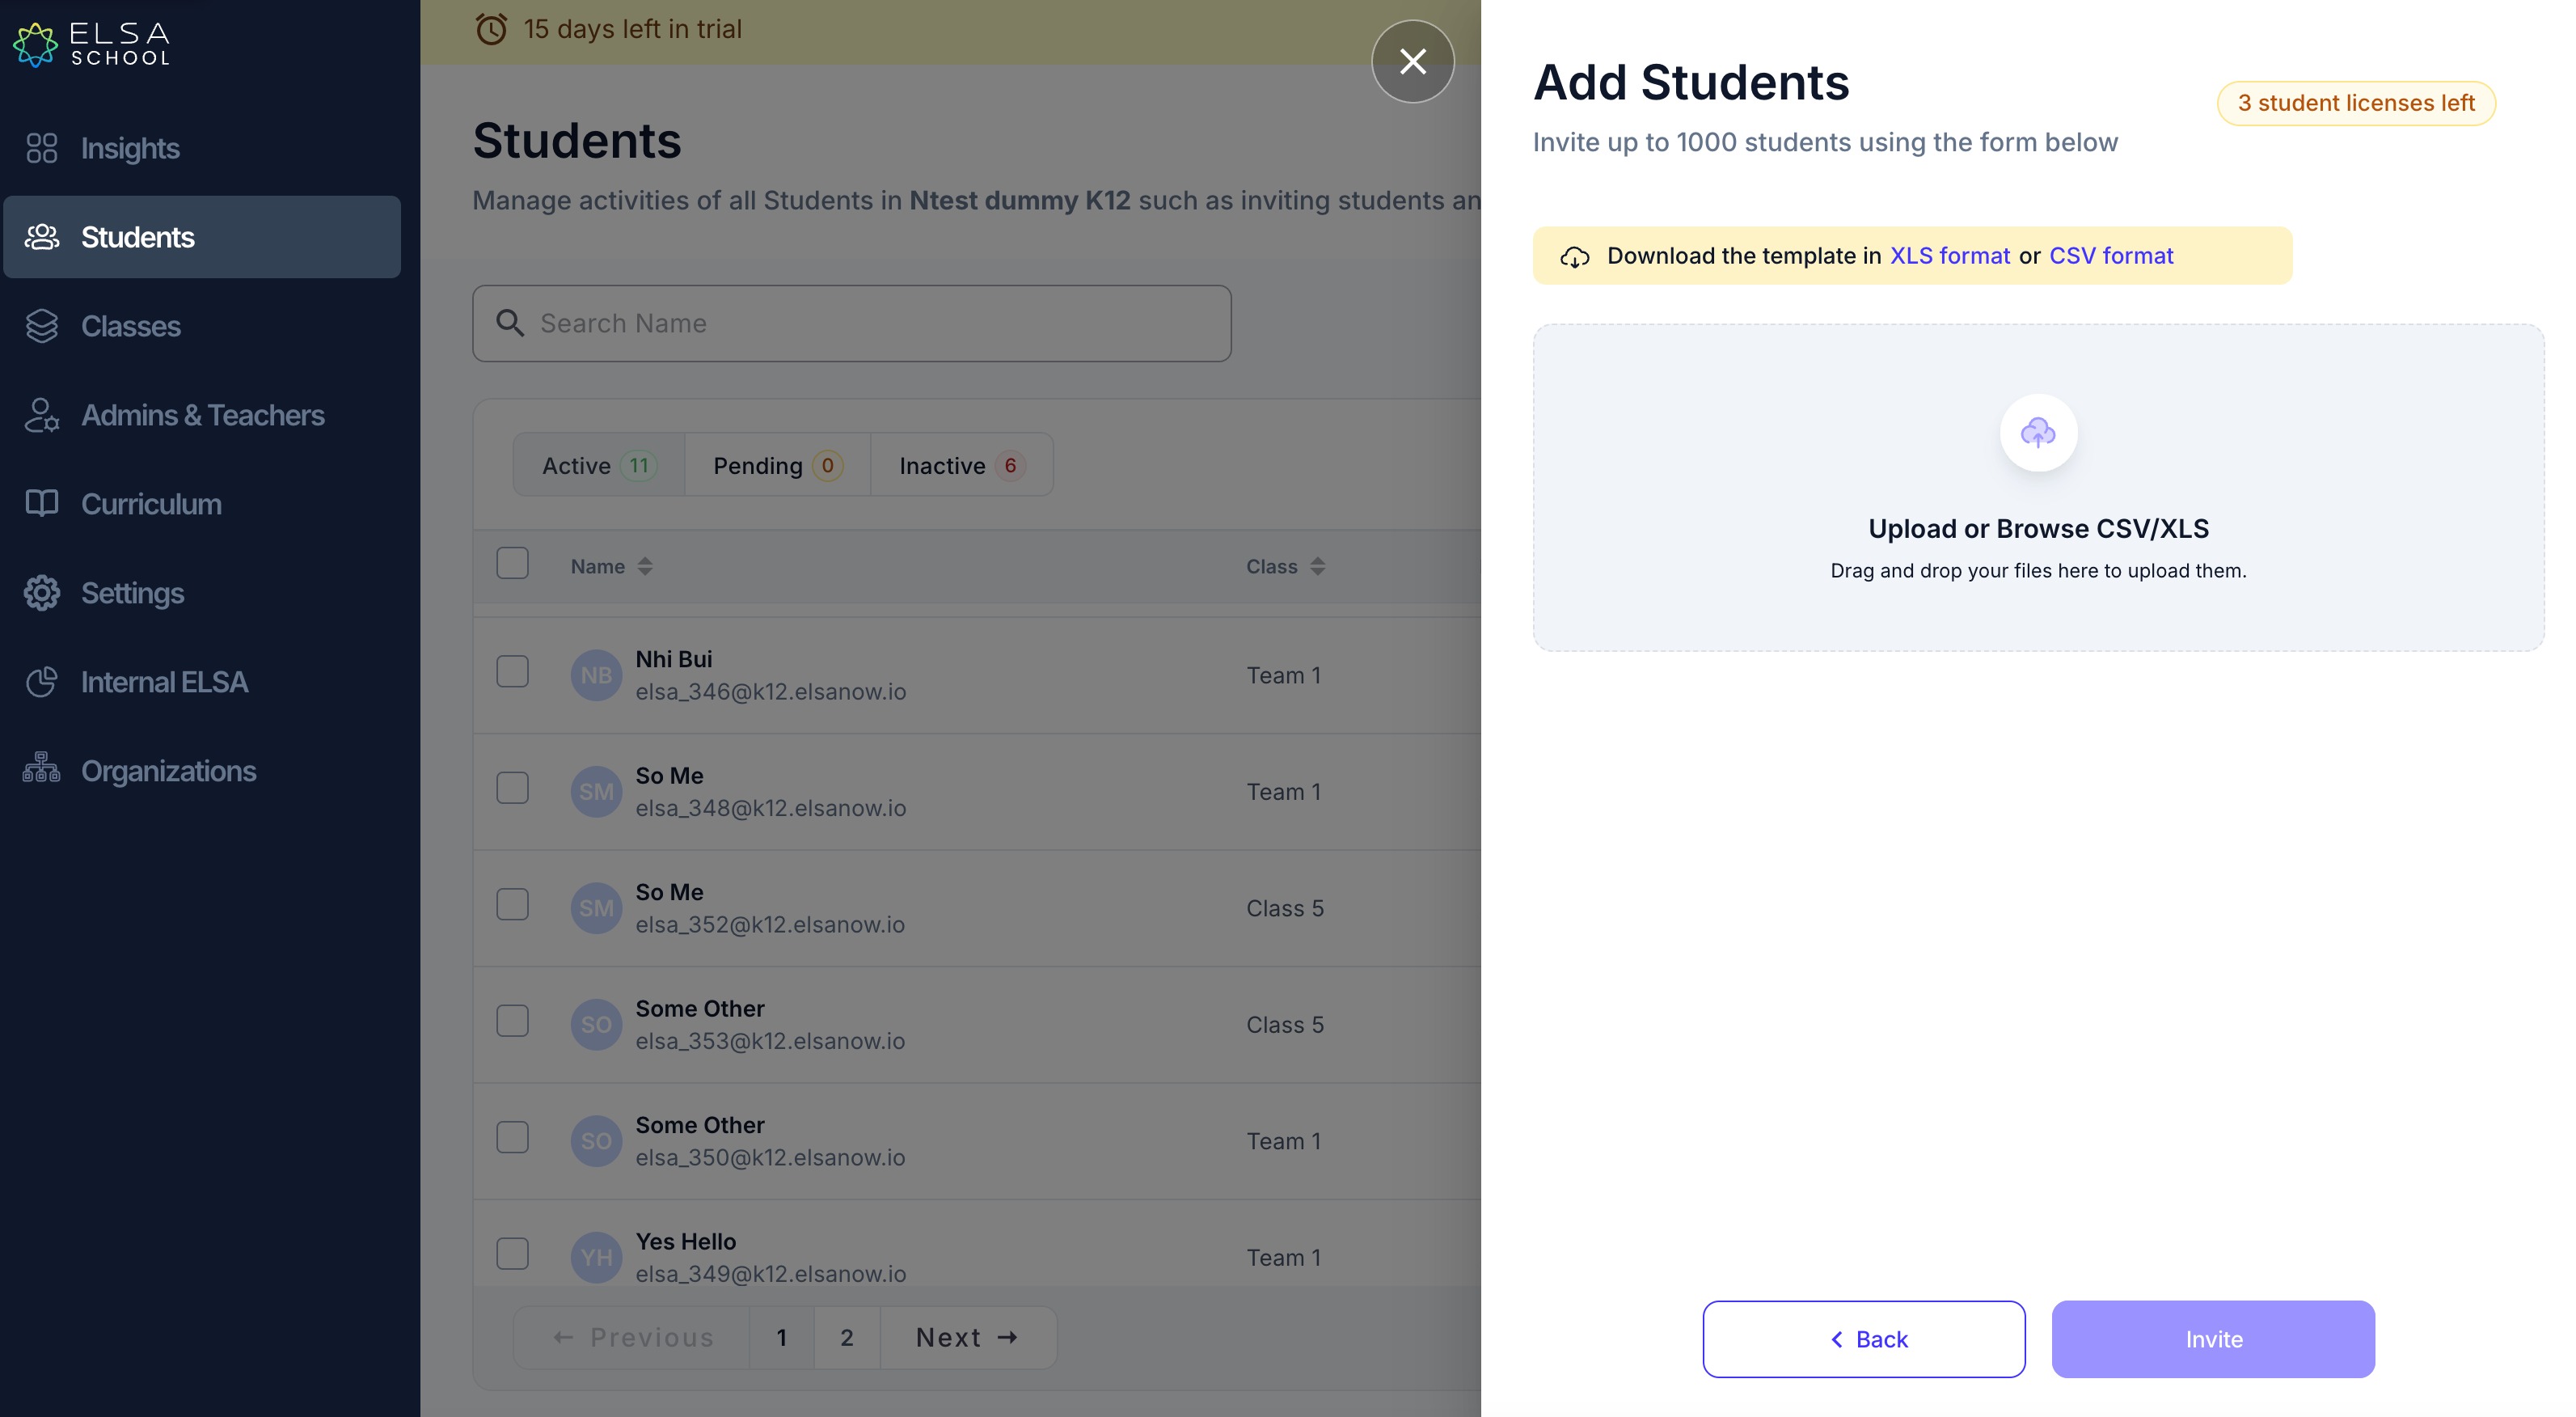
After the file is uploaded, select the class you want to add these students to from the dropdown menu.
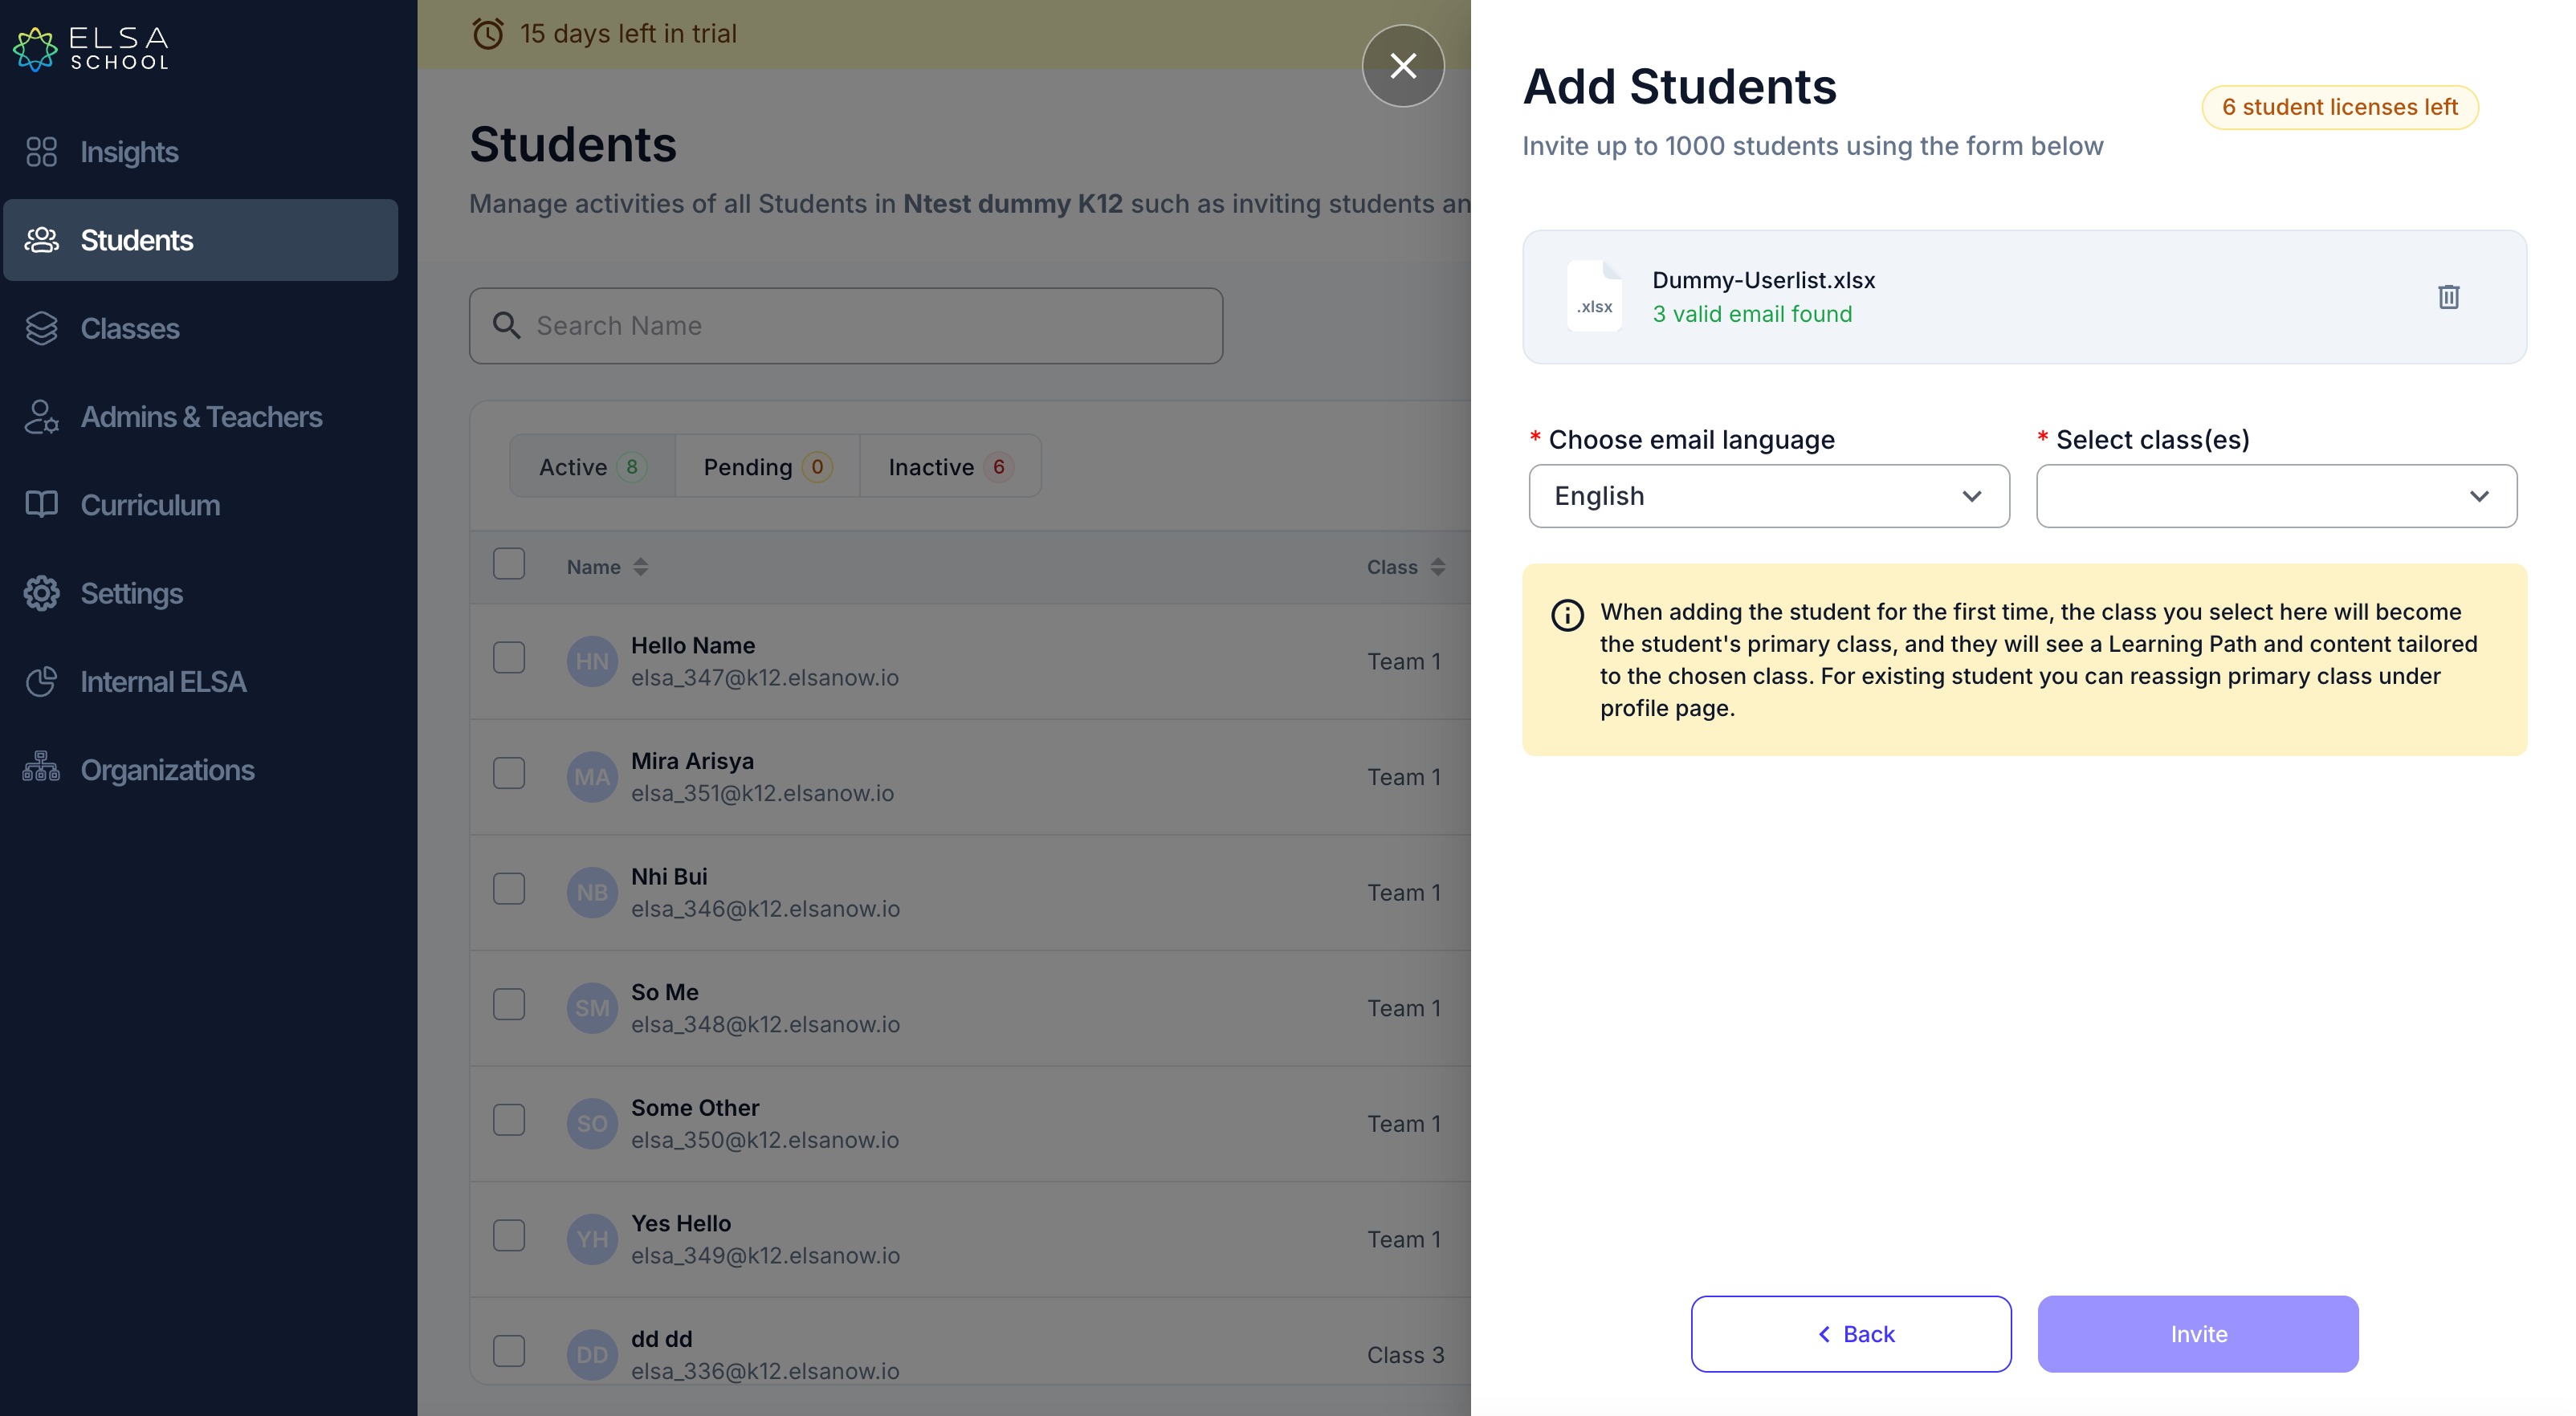
Click the Invite button to create the accounts.
3. Share Login Details with Your Students
After the invitation is sent, ELSA automatically generates login details for each new student.
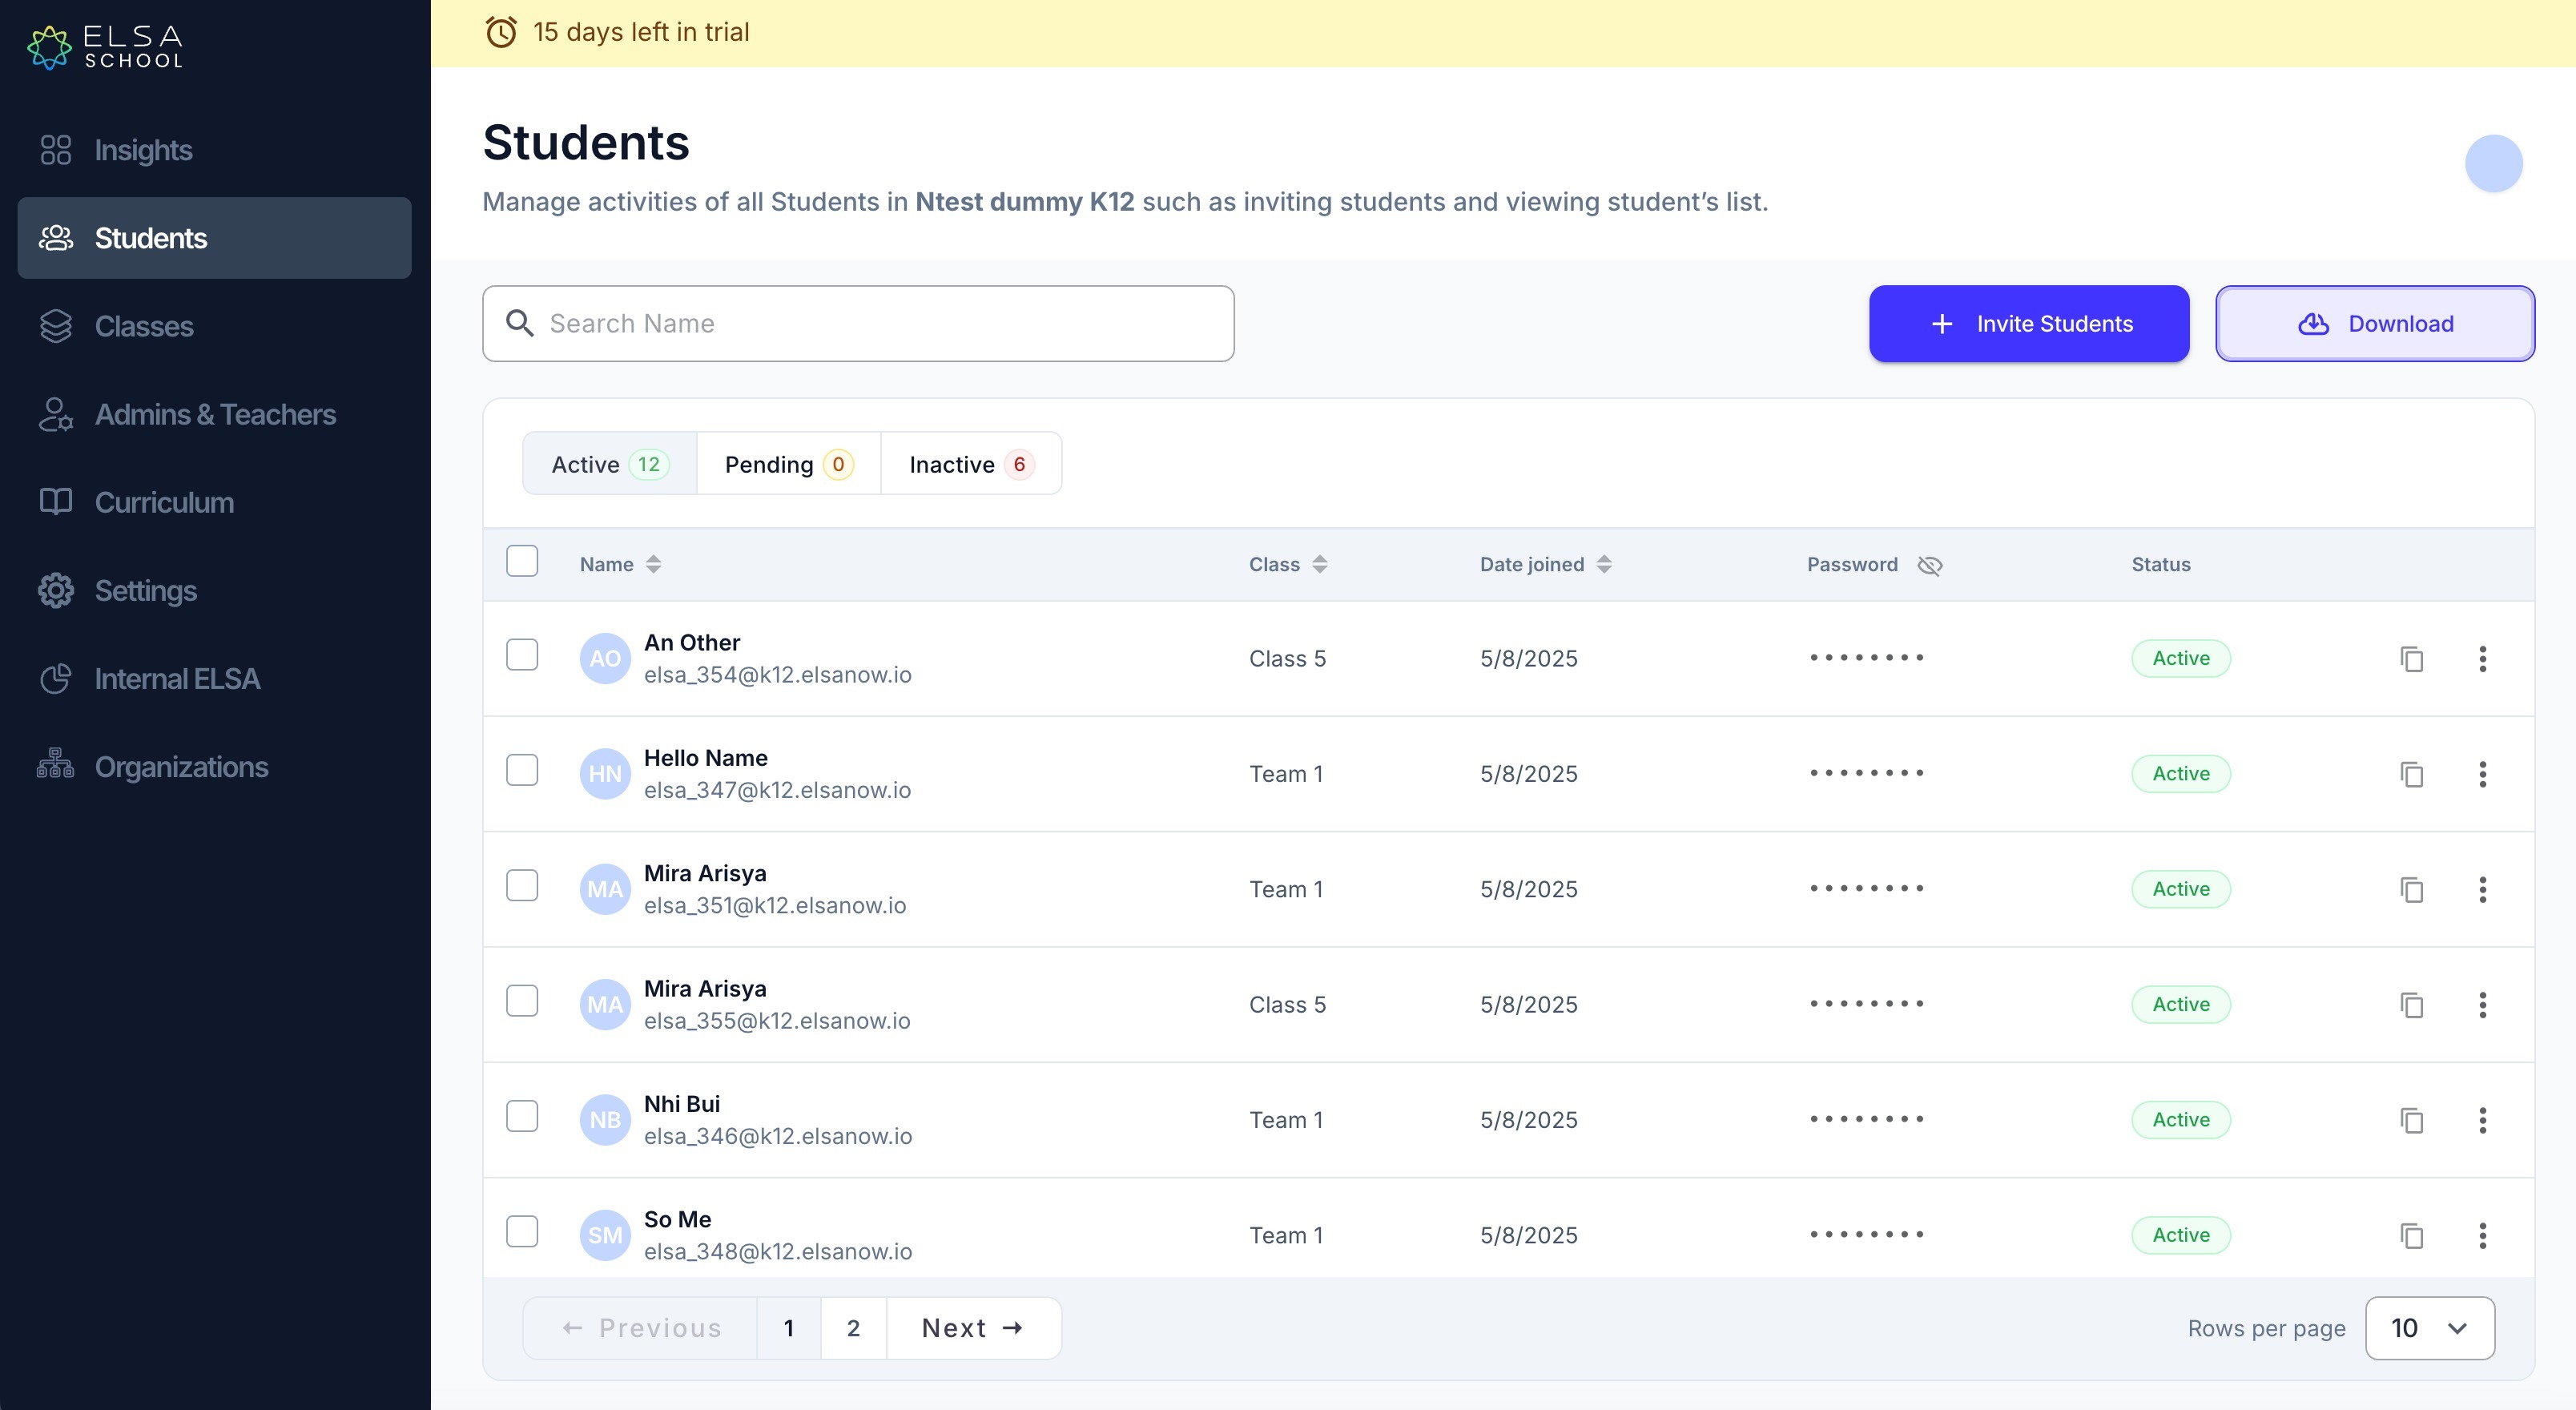
The new login information will appear in your Student dashboard.
To easily share this with your class, click the Download button on the right side of the screen. This will export a CSV file containing all the login details.
Distribute the unique login information to each student. They can now log in and start learning!
Was this article helpful?
That’s Great!
Thank you for your feedback
Sorry! We couldn't be helpful
Thank you for your feedback
Feedback sent
We appreciate your effort and will try to fix the article